In this post, I’m switching focus a little to an area that I am very interested in and get questions constantly from customers: Kubernetes.
This post isn’t meant to be a primer on K8s, but rather a “get your hands dirty introduction”. I guarantee you, that just by going through the motions of deploying a basic application, you will improve your chances of learning this technology greatly.
Let’s have a look at the application we are going to deploy.
https://www.instana.com/blog/stans-robot-shop-sample-microservice-application/

Stans Robot Shop is a microservice e-commerce application leveraging a number of backend technologies and is ideal as a more complete “Hello World” application.
Step 1 – Preparation
There are a few tools that you’re going to need to have installed before we go any further.
| GCloud CLI | https://cloud.google.com/sdk/docs/install |
| GKE Auth Plugin | https://cloud.google.com/blog/products/containers-kubernetes/kubectl-auth-changes-in-gke |
| Git | Google for your OS link |
| Helm | https://helm.sh/docs/intro/install/ |
| Python | Google for your OS link |
| Kubectl | https://kubernetes.io/docs/tasks/tools/ |
You are of course going to need to have a GCP account and an active project created where you will deploy your K8s cluster.
Step 2 – Create the Kubernetes hosting VPC in GCP
First up, log into your GCP account, and let’s begin by creating a VPC to host the K8s cluster.
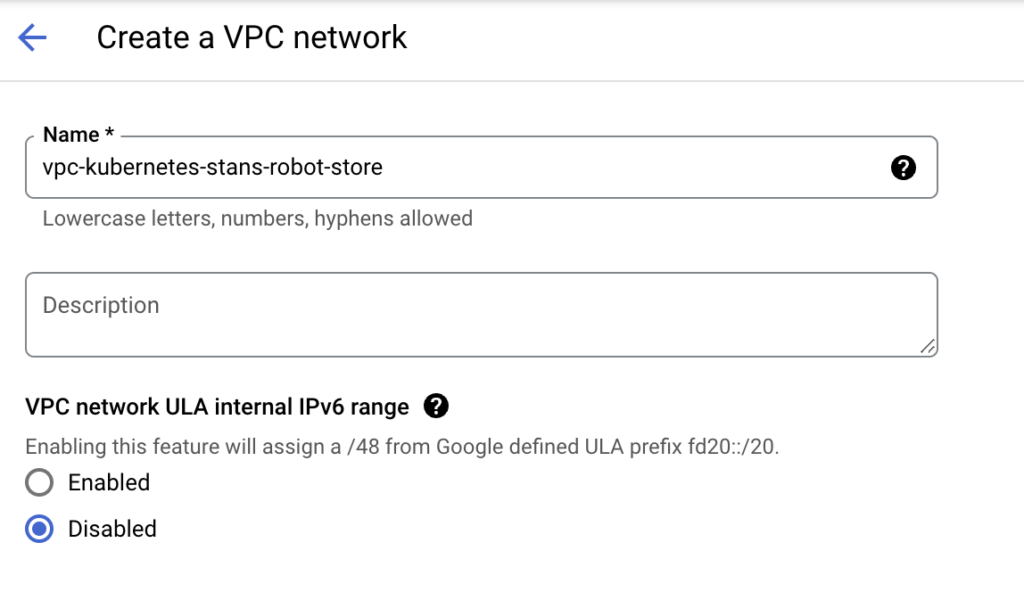
Add the subnet of your choice:

Firewall rules and other settings can remain as default.
A note on IP addressing: the VPC subnet range will be used for the worker nodes as they are deployed and is the address used to reach the Kubernetes API.
When creating the cluster, we will be prompted for the pod and service address ranges, which will not be in the VPC CIDR range.
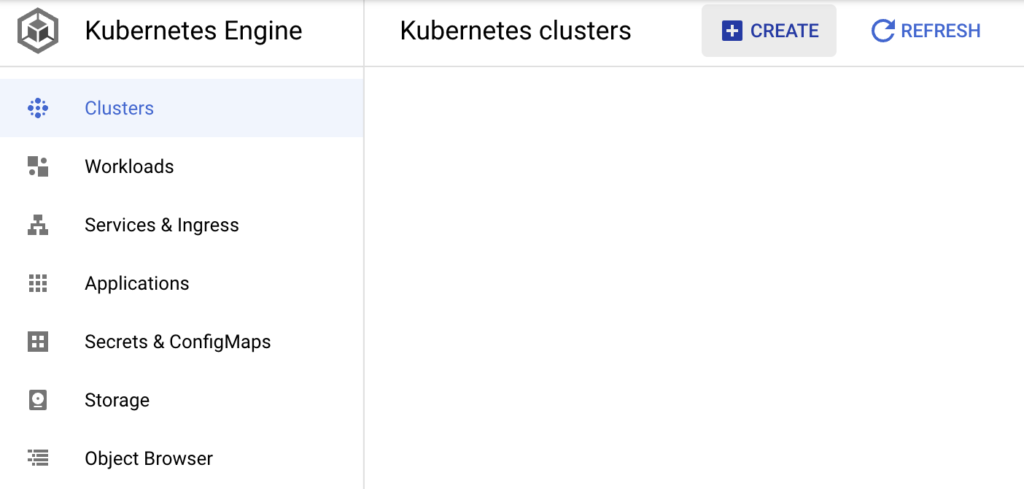
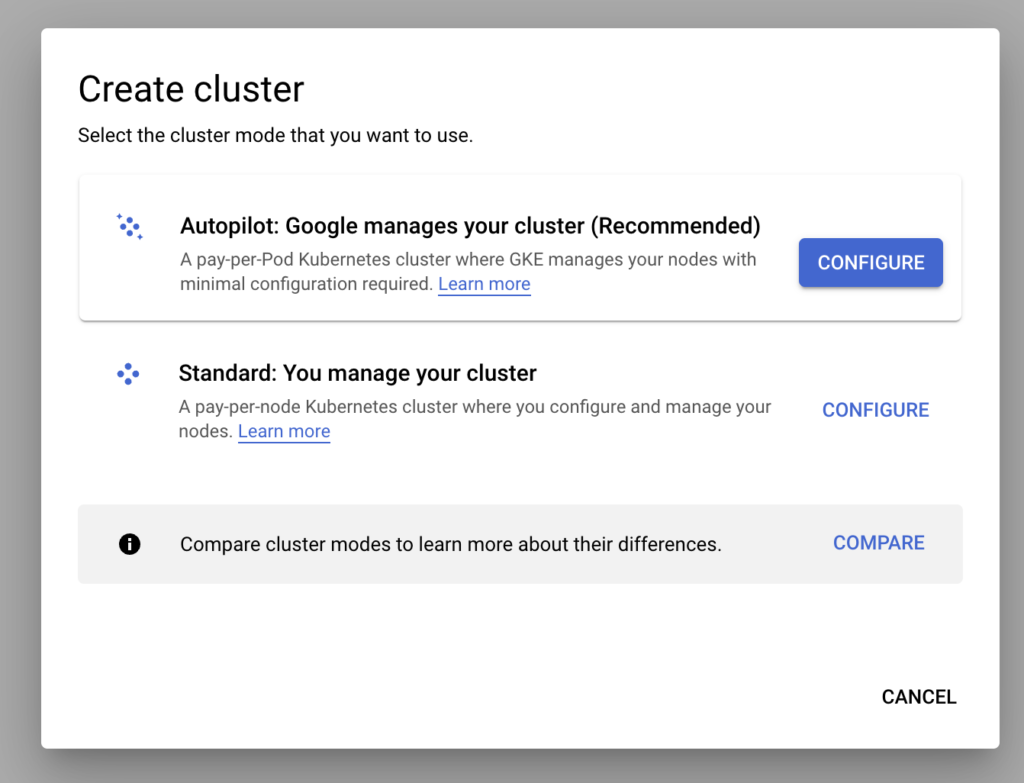
Step 3 – Create the Kubernetes cluster in GCP
Next up, we’ll deploy the cluster itself:
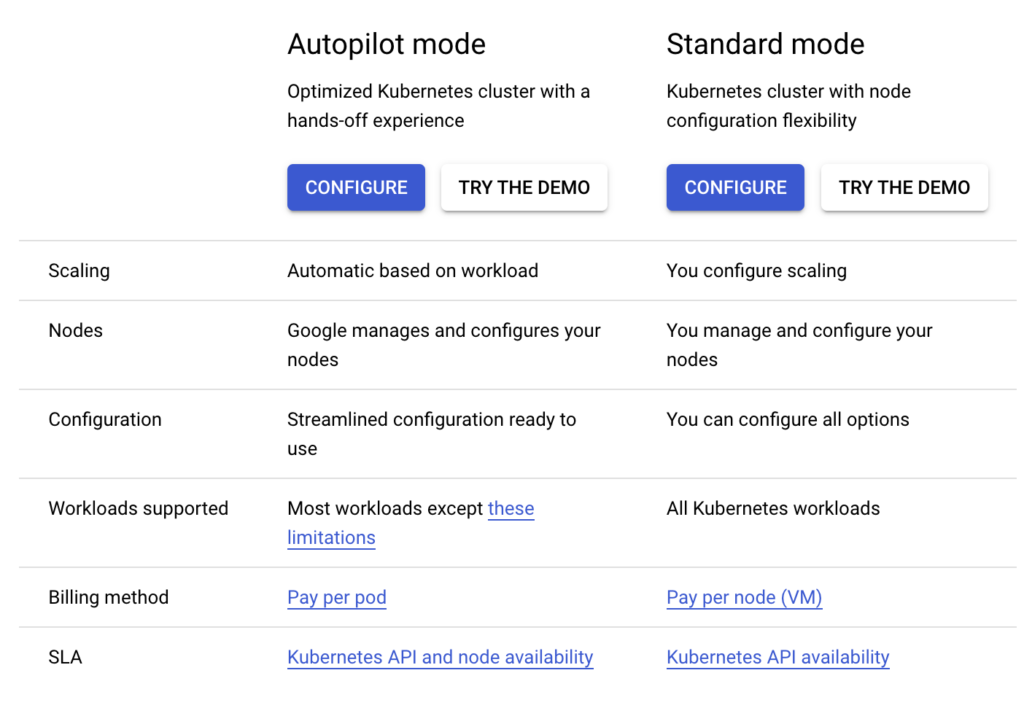
For this example, I have chosen the autopilot configuration:
Give your cluster a name:
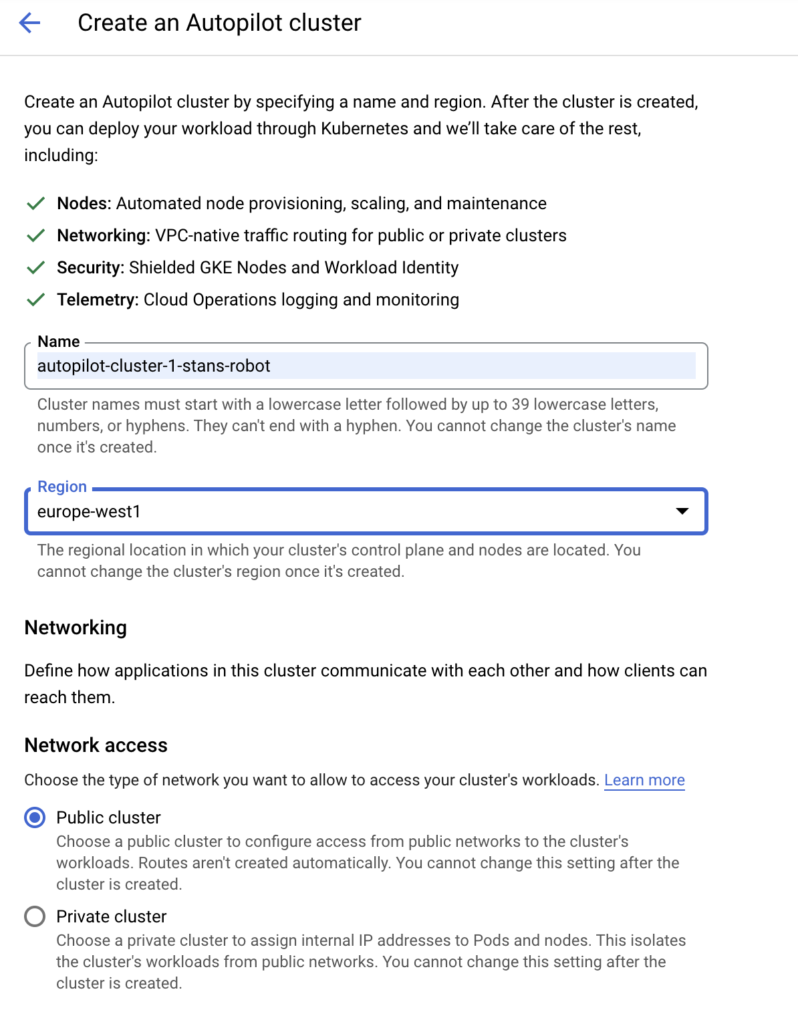
Ensure you deploy it in the same region as your VPC subnet:
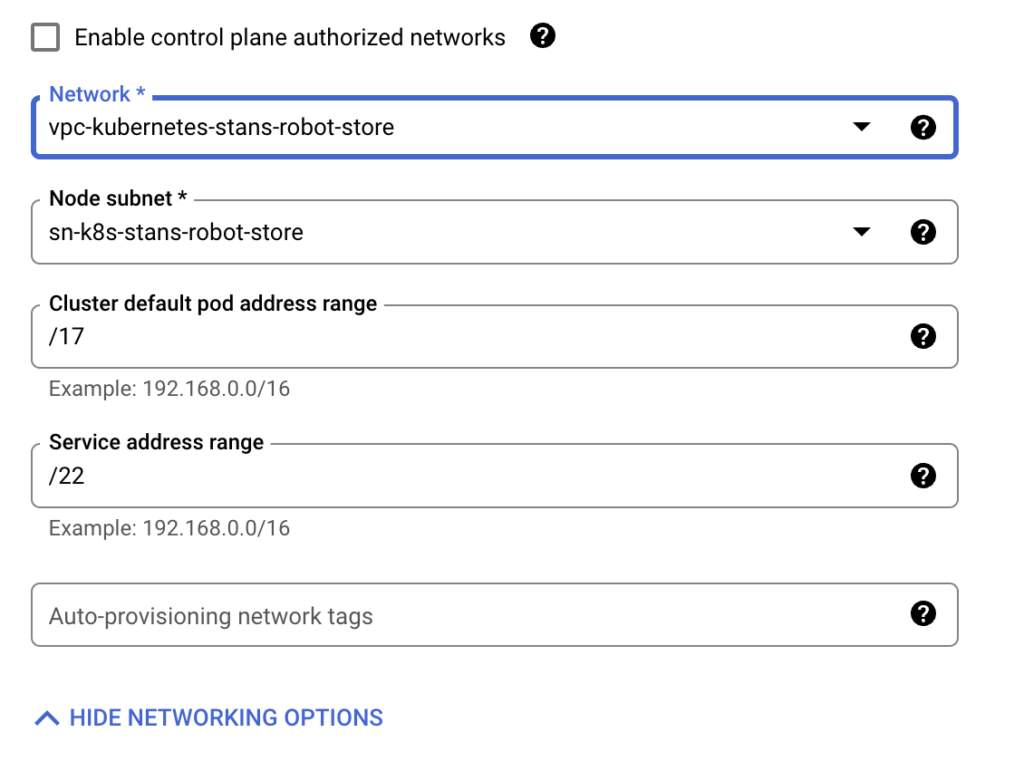
Choose the VPC you created in step 2 above. You can keep the default settings for the cluster and service address ranges.
In a future post I’ll go into more detail on the CIDR ranges.
Hit create.
You will be able to follow the deployment on Gcloud CLI as seen here:

You can see that the “create” process is currently running.
As soon as it has finished, you can move on to deploying the application.
Step 4 – Deploy the application
We’ll begin by authorizing gcloud CLI to manage the cluster:

Click on the cluster and then click on connect.
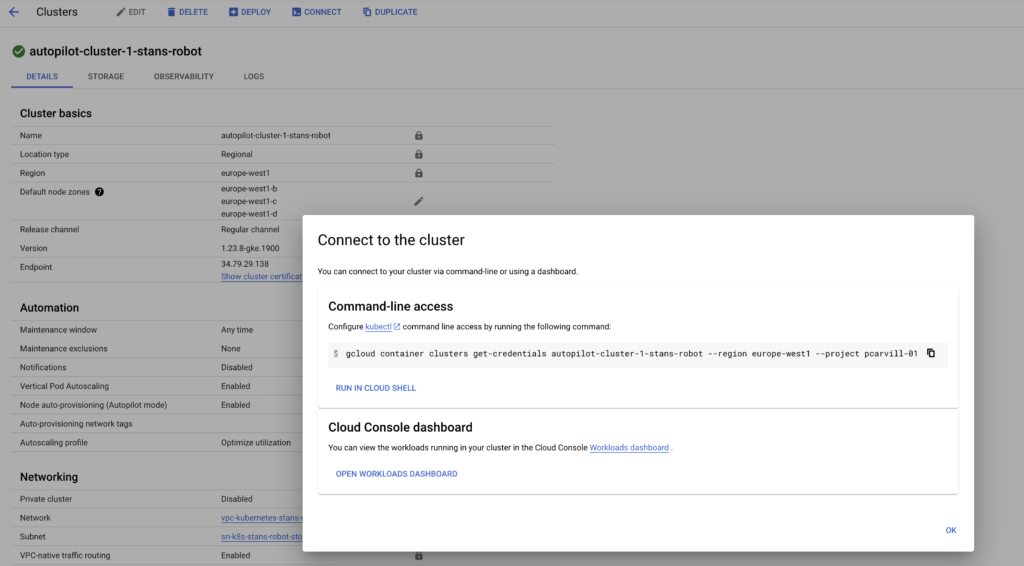
Copy this command into your local terminal:

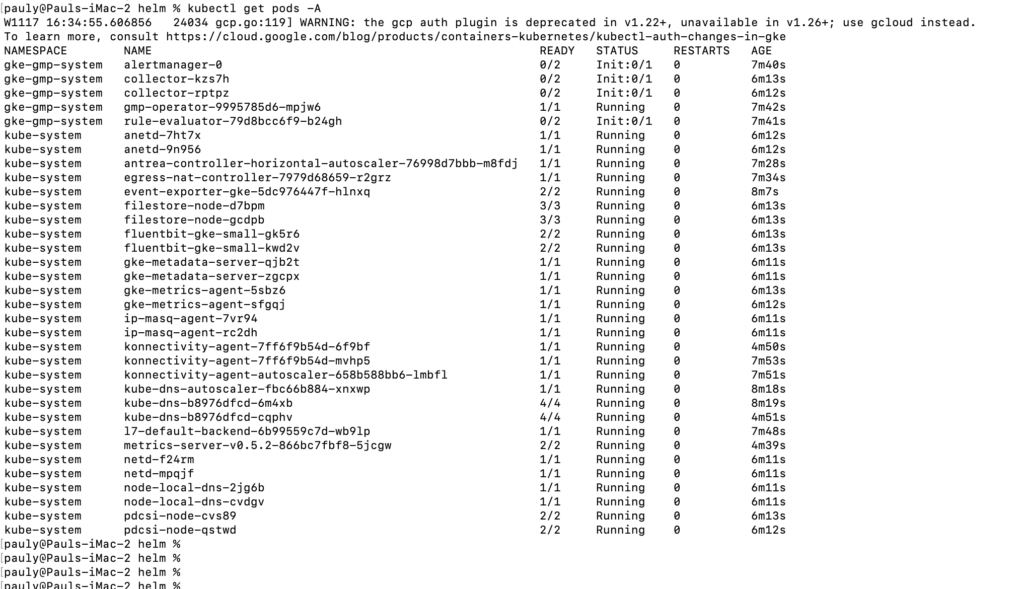
You can test this by running a few kubectl commands from your local machine:
Next we will clone the application locally on our machine as this is where the helm chart is stored:
Navigate to the /robot-shop/K8s/helm directory.
Now you are ready to use Helm to deploy your application.
Begin by creating a new namespace for your application:


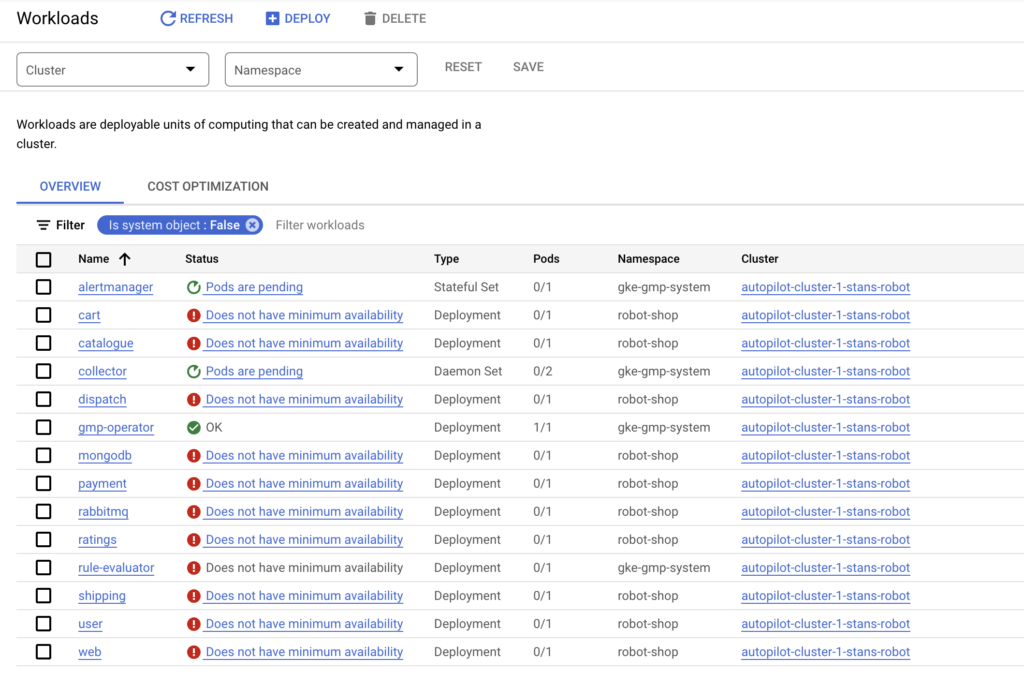
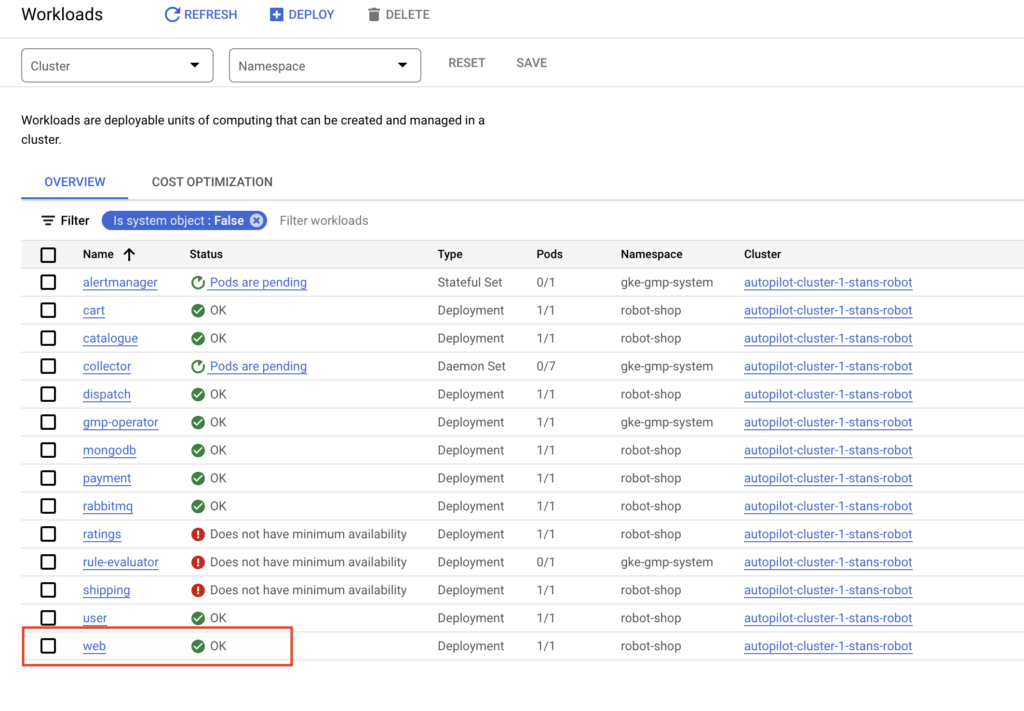
Now we should see our pods getting deployed in GCP:
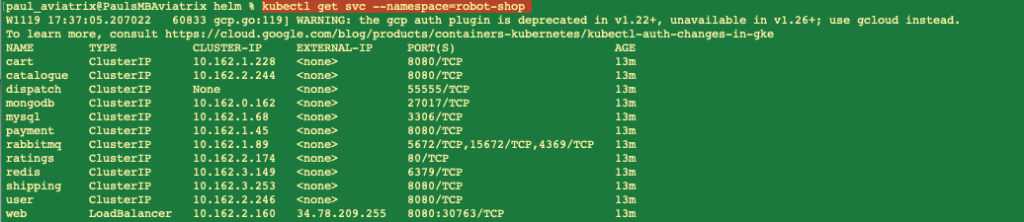
And we should also check if our load balancer got deployed:
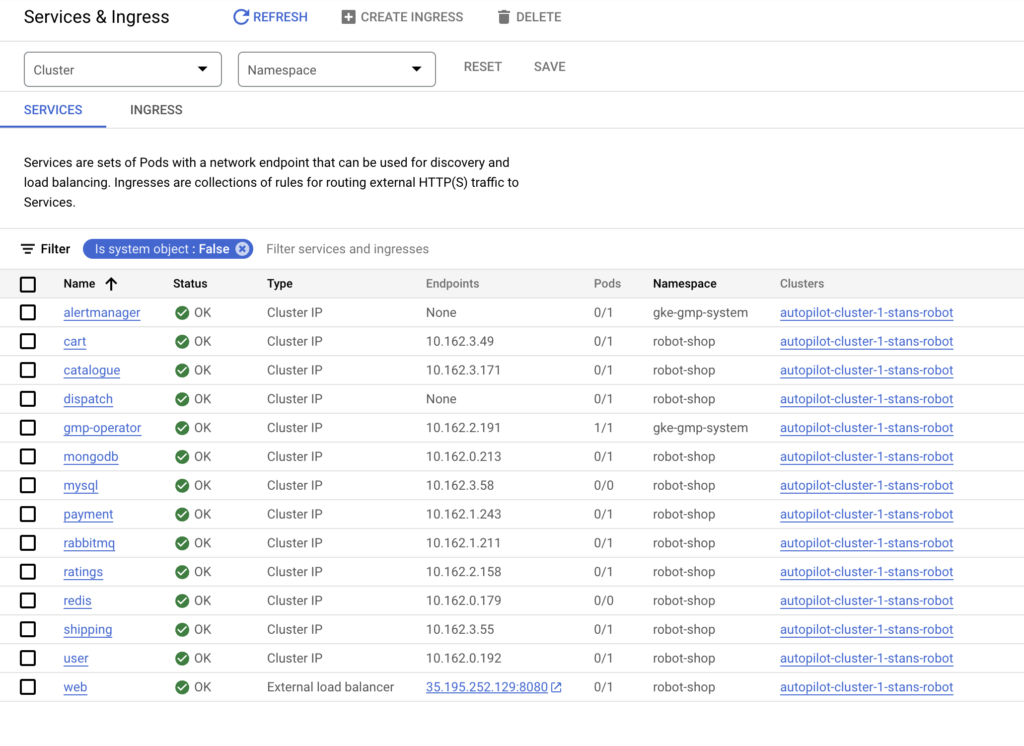
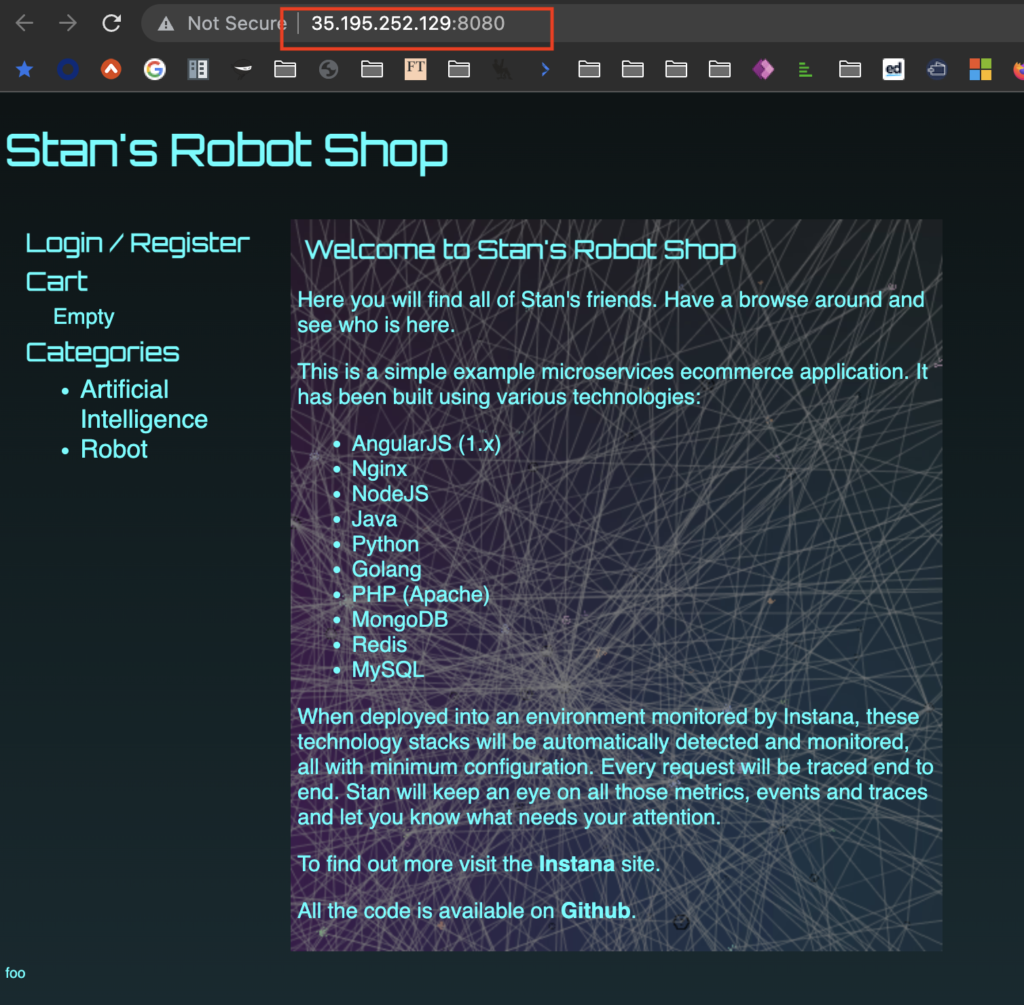
We can see that the web component is exposed to the internet. As soon as the web pod is up, we should be able to access it:
Step 5 -Cleanup
At this stage, we have deployed our application. You can use this environment to test some common K8s commands:


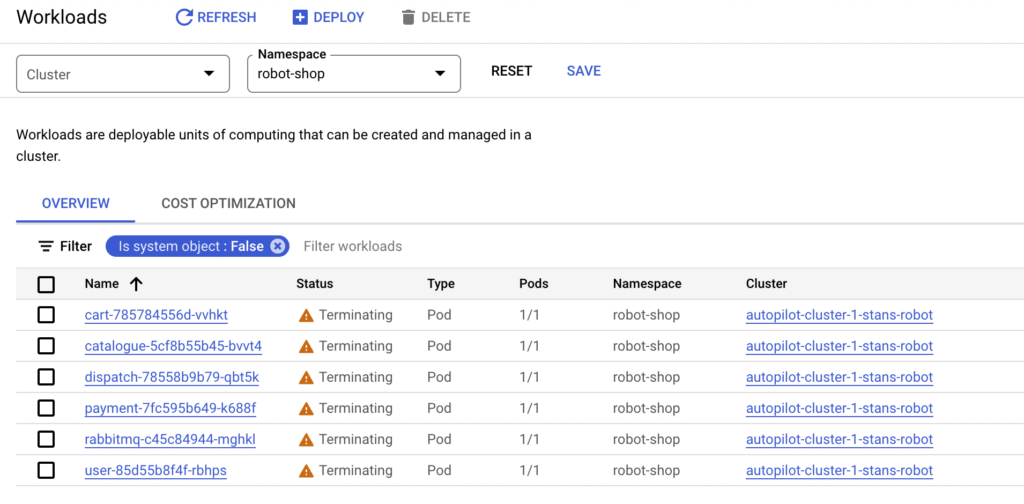
When finished, you can use Helm to uninstall the deployed application:
Then we can delete the cluster:

Use the information from the above to delete the cluster:


And that’s it for this post.
You can use this environment to test further.
I brushed over quite a few fundamentals in this post. The objective was to pique your curiosity so that you can go off and read up on the nuances that we didn’t go into detail on – helm charts, cluster configuration, control plane verification, etc.
In a future post, I will look at some advanced GKE options, troubleshooting, and observability.
A sneak peak into a future post:
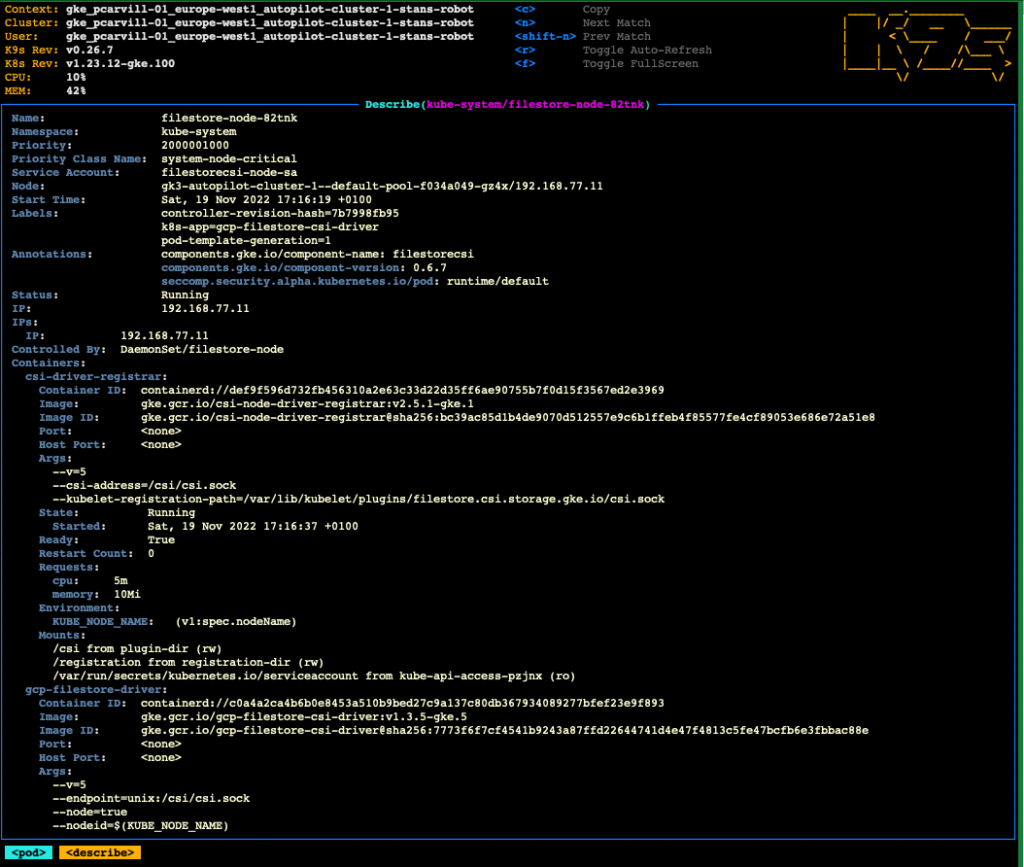
Check our the K9s project for more powerful cluster management features:
Thanks for reading.