Oracle is generously offering free OCI training until the end of February 2022.

OCI is a cloud where I have almost no exposure, so I was keen on taking them up on their free training.
The best way to learn something is to actually use it. Therefore, I thought, “why not deploy Aviatrix into OCI and see what happens?”.
It’s a great way to start learning a new CSP, by leveraging current knowledge. It also highlights the power of Aviatrix and the simplicity that it brings to multi cloud networking.
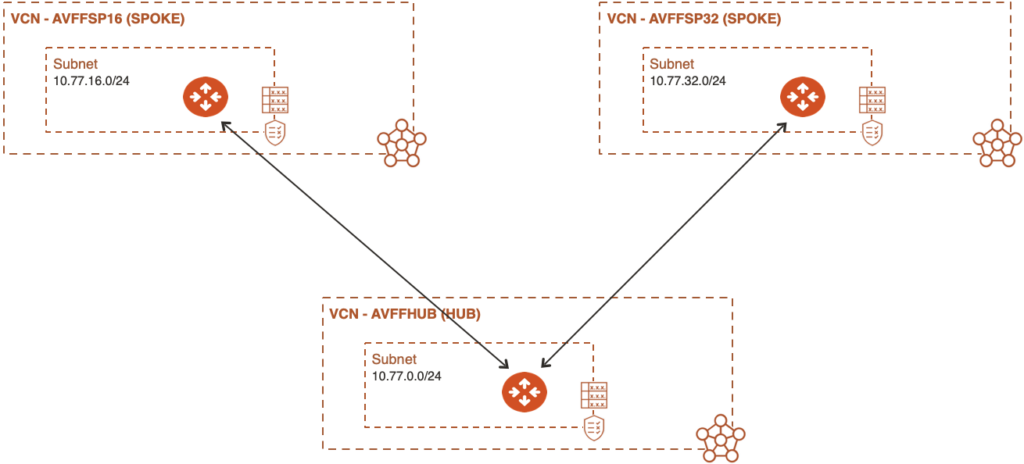
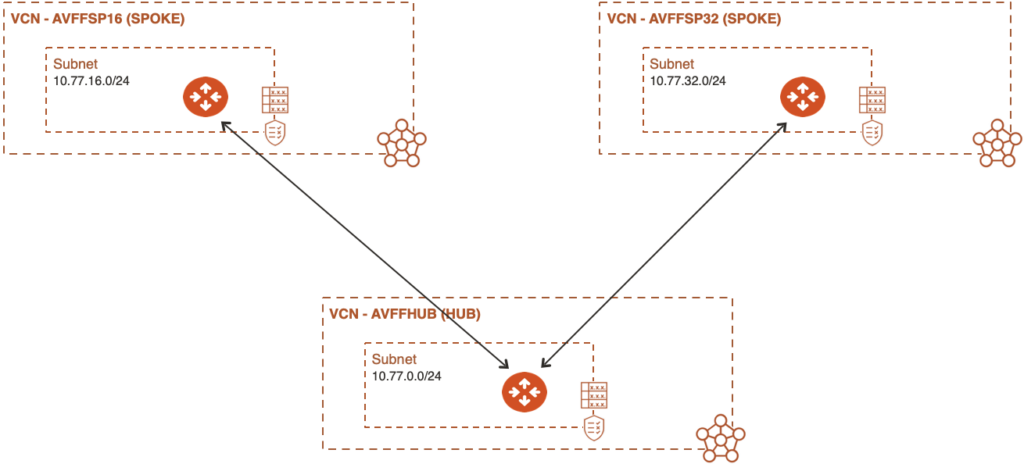
My objective by the end of this post is to build the following architecture in OCI:
Step 1. Sign up for the OCI Free Tier
The very first thing to do, if you have not already done it, is to sign up for Oracles Free Tier account:
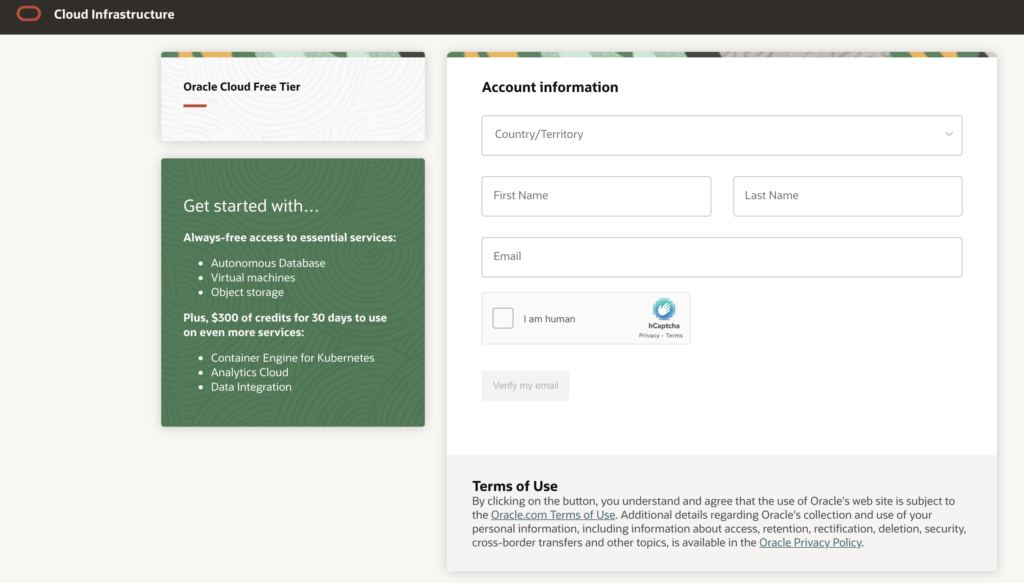
You’ll get another 2 screens asking for more details and eventually a prompt to input your credit card details. In principle, you are never charged unless you opt to upgrade your account.
You’ll eventually get to your OCI login screen here:
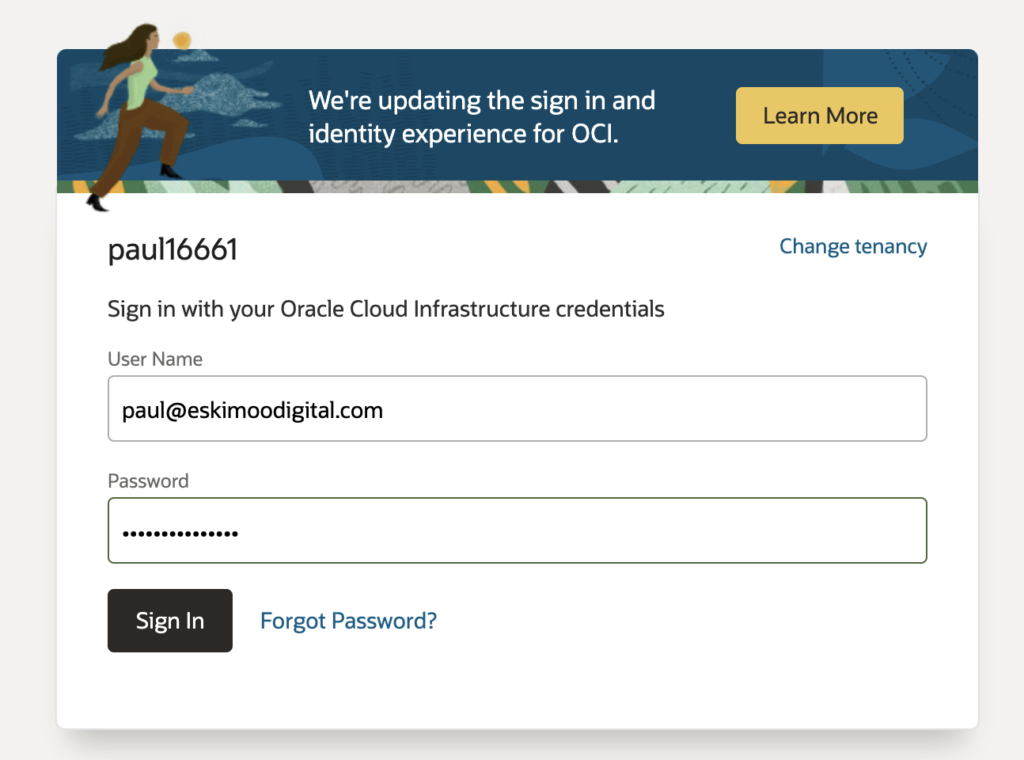
After login, we get to the OCI home screen:
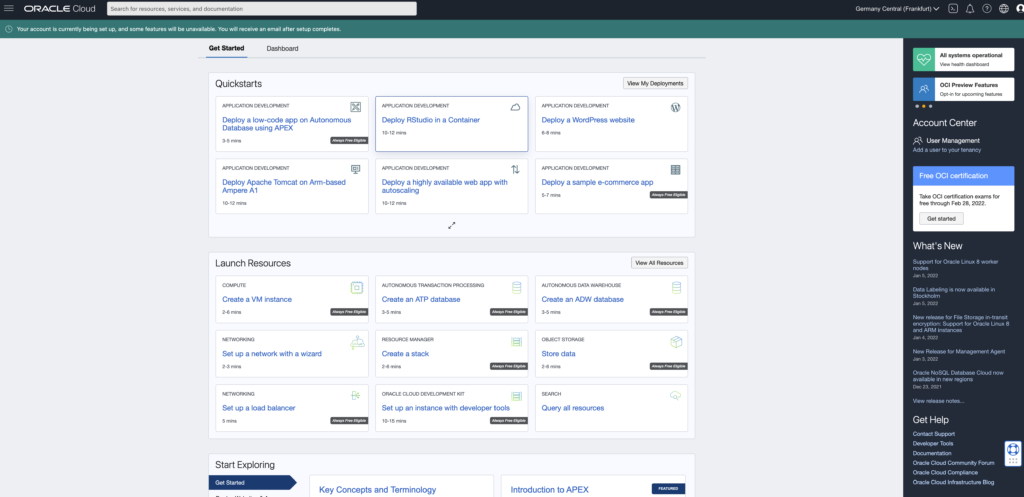
Now let’s adhere to as many best practices as we can, even though this is a demo account.
The first thing to do is to create a compartment for testing in.
Step 2. Create a sandbox compartment
Without turning this post into an OCI training, one of the best practices is to not use the root compartment or tenancy for day-to-day administration or resource creation. This makes sense and is a similar best practice across all major CSPs.
Oracle uses a hierarchy, just like AWS uses accounts and Azure uses subscriptions. In OCI we call these “compartments”.
All compartments live in the Root Compartment of the Tenancy, and we should make a Group Administrator per “child” compartment to further segregate Admin scope.

In keeping with best practices, I will create an Aviatrix Sandbox compartment and create a Tenancy Administrator user for this compartment.
Whilst I will be using the compartment tenancy admin account today, best practice is to further create Service Admins for day to day operations.
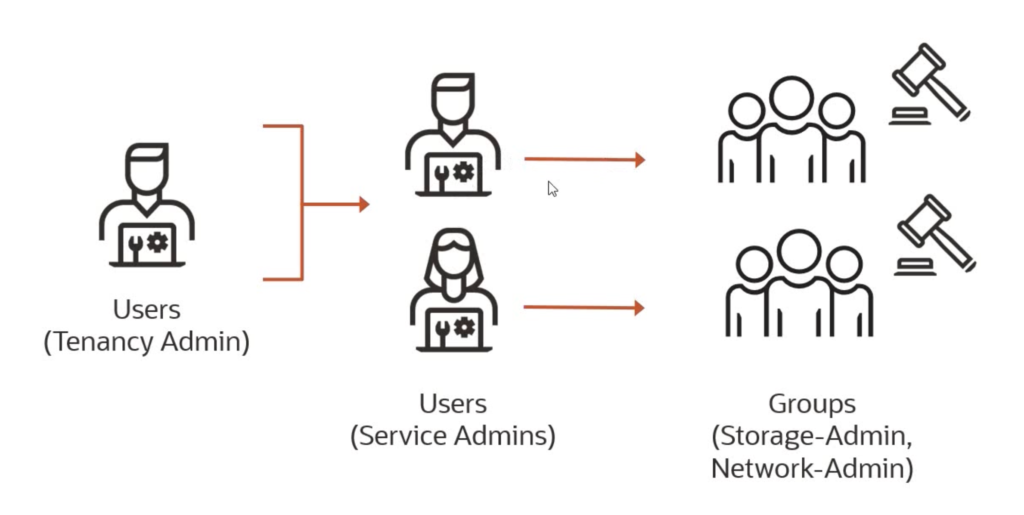
Let’s start with creating the Aviatrix Sandbox Tenancy.
As we can see, I am currently logged into the root compartment:
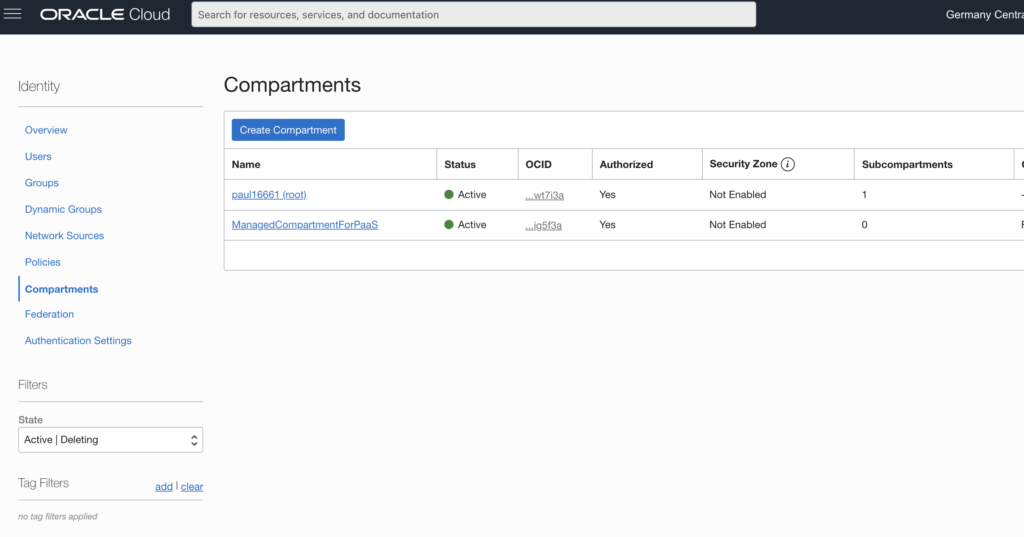
I will begin by clicking on “Create Compartment”.
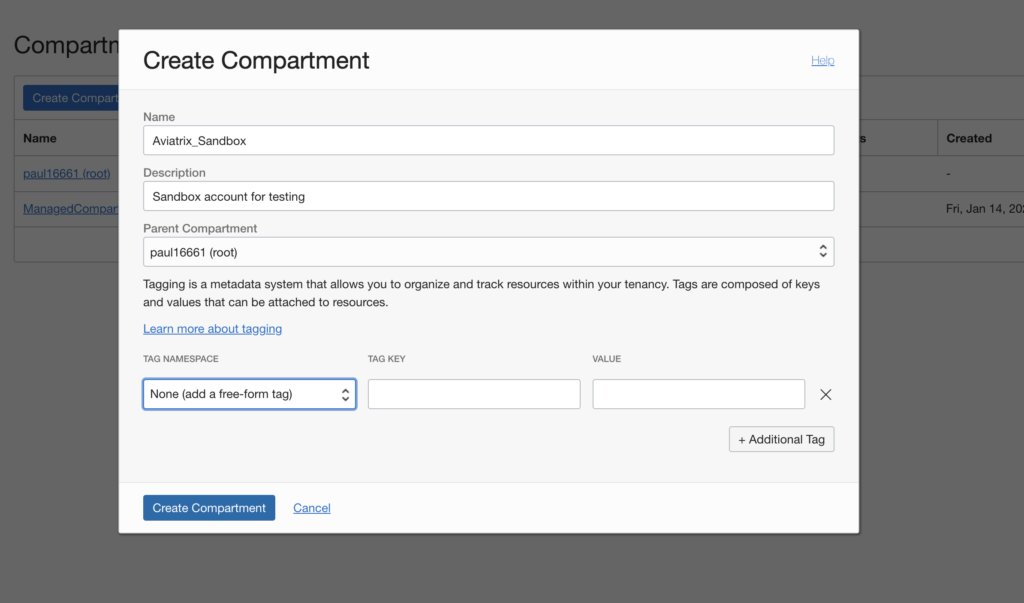
Very straight forward.
Now we have our free tier account set up and created a Tenancy for isolation.
Next, we need to add the Admin profiles to administer the new tenancy.
Step 3. Create a new admin user and policy
Now we will create a Group to administer our new tenancy:

Now we create a user:

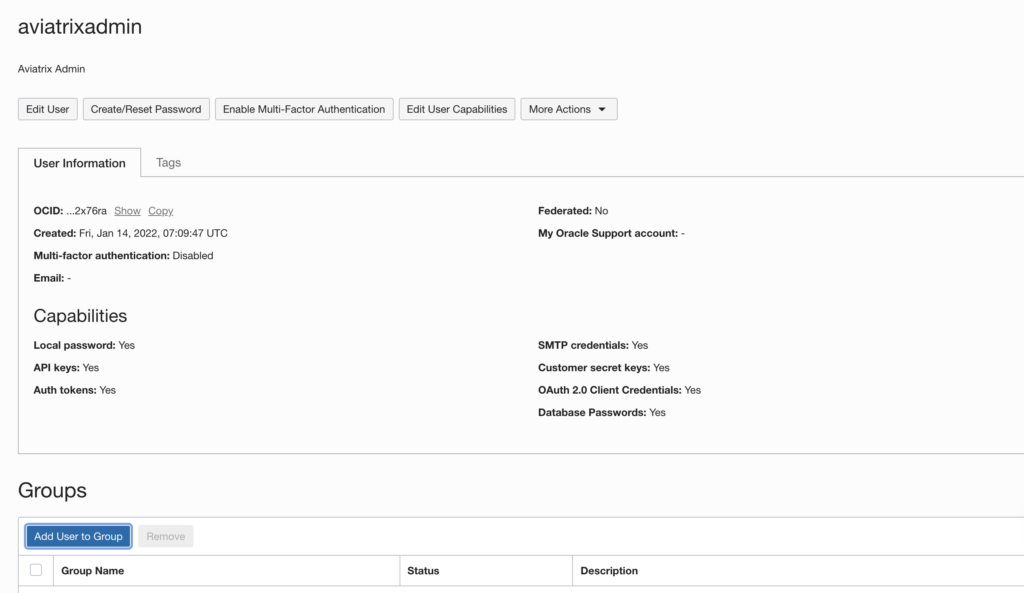
Now we need to add the user to the new group:

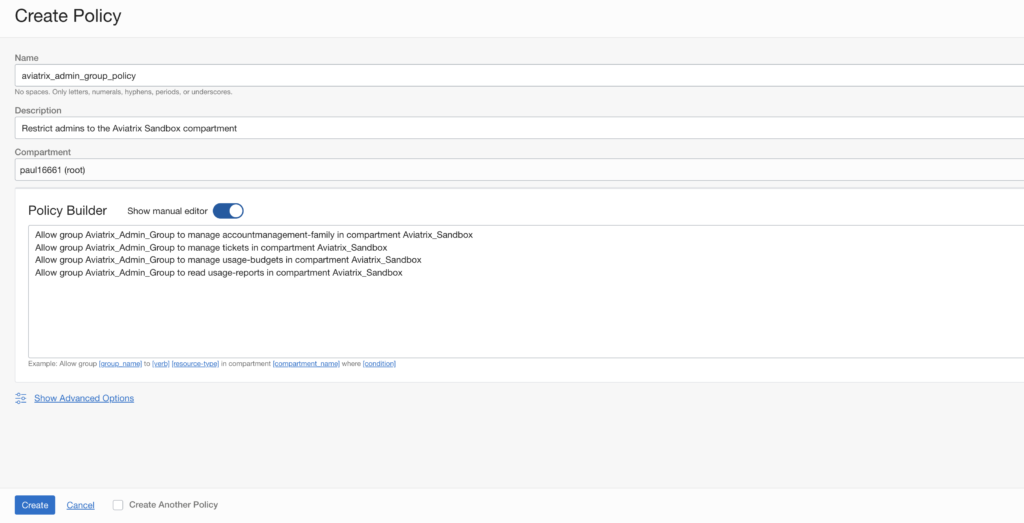
Now we will create a policy for our new Group to allow the group to actually do stuff (in the aviatrix sandbox compartment). If we had other compartments, we would want to restrict this group from deleting something in production, for example.
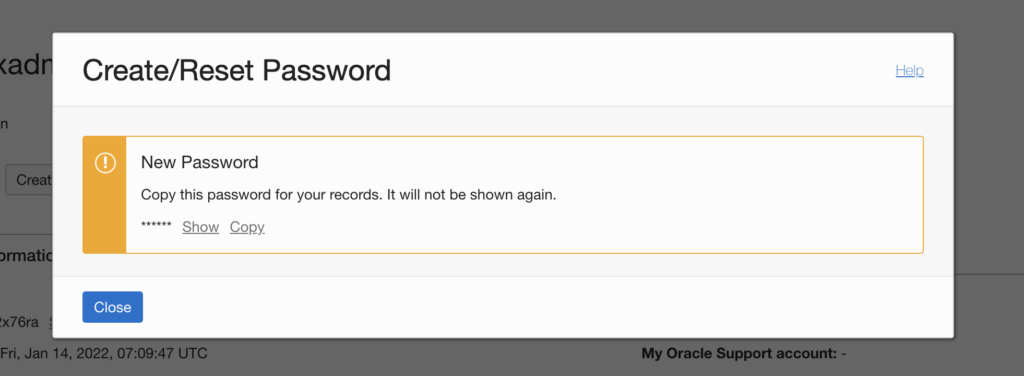
One last thing before we can log into our new compartment: we need to reset our user password for the aviatrxiadmin user that we created above:
Now when we log in to the OCI console with the new user “aviatrixadmin” we will be administratively scoped to the Aviatrix_Sandbox compartment.
Step 4. Create the Aviatrix credentials
Next, we need to create credentials to allow the Aviatrix controller to build stuff on OCI. Lucky for us, the Aviatrix documentation is very complete on this, and it’s as easy as following the instructions here:
https://docs.aviatrix.com/HowTos/oracle-aviatrix-cloud-controller-onboard.html
In short, we only need to do 4 steps:
- Find the User OCID
- Find the Tenancy OCID
- Find the Compartment OCID
- Create an API public/private Key
Now let’s jump on the Aviatrix Controller. After following all the instructions in the link above (with some errors on my side which were linked to the OCI user policy) we can onboard OCI to the controller.

This effectively means we can now begin deploying Aviatrix gateways in OCI.
For that, we will use Terraform.
Step 5. Write some Terraform code
Before we get into that, let’s have a look if there are any VCNs or compute instances running:


As you can see from the above, my OCI compartment (Aviatrix Sandbox) has no resources at this time.
I would like to build a simple hub and spoke Aviatrix architecture in OCI.
Building Aviatrix resources in Terraform could not be easier. Especially since there are a number of pre-written modules to choose from. Simply go to the link below:
https://registry.terraform.io/search/modules?namespace=terraform-aviatrix-modules
Based on this I have created a simple Terraform deployment which you can find in my GitHub account:
https://github.com/Eskimoodigital/AviatrixOCIDeployment
Let’s have a look at the code:
2
3
4
5
6
7
8
9
10
11
12
13
14
15
16
17
18
19
20
21
22
23
24
25
26
27
28
29
30
31
32
33
module "oci_transit_1" {
source = "terraform-aviatrix-modules/oci-transit/aviatrix"
version = "4.0.3"
cidr = "10.77.0.0/20"
region = "eu-frankfurt-1"
account = "EskimooOCI"
name = "avffhub"
ha_gw = "false"
instance_size = "VM.Standard1.2"
}
# OCI Spoke Module
module "oci_spoke_1" {
source = "terraform-aviatrix-modules/oci-spoke/aviatrix"
version = "4.0.6"
count = 2
name = "avffsp${count.index}"
cidr = var.spoke_cidrs[count.index]
region = "eu-frankfurt-1"
account = "EskimooOCI"
transit_gw = "avx-avffhub-transit"
ha_gw = "false"
instance_size = "VM.Standard1.2"
}
Step 6. What gets deployed?
After running the Terraform apply we can check in OCI what has been built:


Conclusion
I started this post with no hands-on experience with OCI.
By simply taking the Aviatrix principles that I have learned in AWS and Azure, I managed to deploy a hub and spoke architecture to OCI in 4 hours – starting from almost zero.
This has allowed me to get under the hood with OCI in a very practical way – tenancy model, compartment creation, IAM, VCN, compute instances, etc.
Now I can build on this base for further learnings.
Thanks for reading.

